 About a month ago, this image on Twitter caught my eye. I like to think of myself as a teacher “in the know” and someone who is “techy” in the classroom, but this particular image listed out some concepts I knew, some I wanted to work on, and a few I had never heard of. Clicking on the link brought me to an excellent short explanation of what each topic was all about.
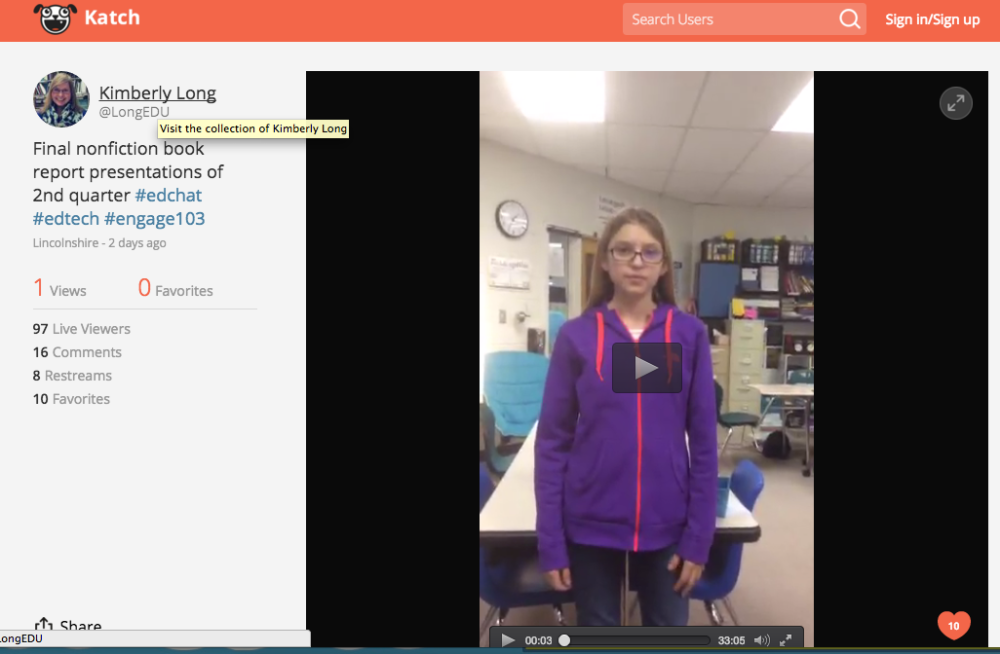
#5 Live-steaming is an idea I have thought about, but could never figure out what its role in the classroom may entail. One day it hit me. Why hadn’t I thought of it? Presentations! I could share my student’s presentations beyond the four walls of my classroom and create a truly authentic setting for students to perform their public speaking.
On the radio and tv I had heard about Periscope every once and a while, but when I tried to use it I realized you have to download a separate app in order to view any of the “videos”. I felt this extra step could hinder my ability to reach a broad global audience. Instead, I used its rival – Meerkat.
Quick Review of Meerkat
Pros: It’s free! It requires only the person recording/live-streaming/creating a video to download an app. It automatically syncs with your twitter profile thus automatically broadcasting the video via twitter once you start live-streaming. Viewers can watch the video by simply clicking on the link in your tweet. There is a chat box all viewers have access to view. Additionally, it notifies the recorder of how many people have watched overall, and how many are currently watching.
Cons: There is a slight delay, but I suspect this would happen with any live-streaming platform. You must record in portrait since the app is intended for phones. The chat box is not easy to view from the recorders perspective on an iPad. It only broadcasts live, once the video is stopped you can’t go back and watch it. There is a library feature, but I did not take the time to figure this out. Instead, I used Katch to record the live-streaming and it worked perfectly with Meerkat.
Stay with me and do not get freaked out. Live-streaming is very simple to use and the classroom possibilities are endless. You are bringing the world into your classroom and allowing your students to share their knowledge and learning with a global community.
At FIRST: Live-Streaming Requires 5 Steps
- Download Meerkat app onto classroom iPad, create an account and in the process sync with your twitter account.
- Create a Katch account and in the process sync with your Meerkat and Twitter accounts.
- Advertise and inform parents how to access the live-streaming and recordings
- Open Meerkat app and write tweet that describes what is about to be live-streamed
- Click “Stream” and “End Stream” when you are done
After Initial Set-Up: Live-Stream In Only 3 Steps
- Advertise and inform parents of when you are live-streaming
- Open Meerkat app, and write tweet that describes what is about to be live-streamed
- Click “Stream” within the app and “End Stream” when you are done
All the tweets, all the links, all the recordings will be automatically generated requiring you to do nothing!


After trying live-streaming for the first time, I am IN LOVE! Next time, I’ll assign students a specific day to present as opposed to asking for volunteers and then going alphabetically around the room. This will allow me to then provide parents with a schedule of what day their student will be presenting, so they know when to tune in. I’ll definitely continue to use hashtags in my live-stream tweets to try and reach as many potential viewers as possible. Depending on the age of your students I think it is also critical to help them have ownership of this process. I assigned my two classroom technology team members to be in charge of holding the iPad during the recording and directed them to occasionally explain what was happening during the live-streaming.
How could you use live-streaming purposefully in your classroom?

What an amazing, innovative way to spice up the tired old presentation!
LikeLike